How to Use Flux.1 on Replicate: A Step-by-Step Guide
Flux.1 is the latest sensation in the world of AI image generation, developed by the original team behind the groundbreaking Stable Diffusion. This new text-to-image generator is making waves for its incredible performance, even surpassing the capabilities of Midjourney V6. What’s even more exciting? Flux.1 is open-source, making it accessible to anyone eager to explore its potential.
If you don’t have a high-end GPU at your disposal, you might think that running such advanced AI models is out of reach. But don’t worry! In this guide, I’ll show you how to easily use Flux.1 online, without the need for powerful hardware or complex setups like ComfyUI. Whether you’re a seasoned developer or just someone curious about AI art, you’ll find these methods simple and straightforward, allowing you to dive into the world of Flux.1 from the comfort of your browser.
Quick Tip
If you’re new to Flux.1 or want to deepen your understanding, here are a couple of resources to get you started:
1.Learn about the three different modes of Flux.1 and their specific uses: Discover how Flux.1 [pro], Flux.1 [dev], and Flux.1 [schnell] differ and which mode is right for your needs. 2.Find out how to try Flux.1 for yourself: Explore the easiest ways to get started with Flux.1 online without the need for high-end hardware.
How to Use Flux.1 on Replicate - A Step by Step Guide
Step 1: Access the FLUX.1 Dev Mode on Replicate
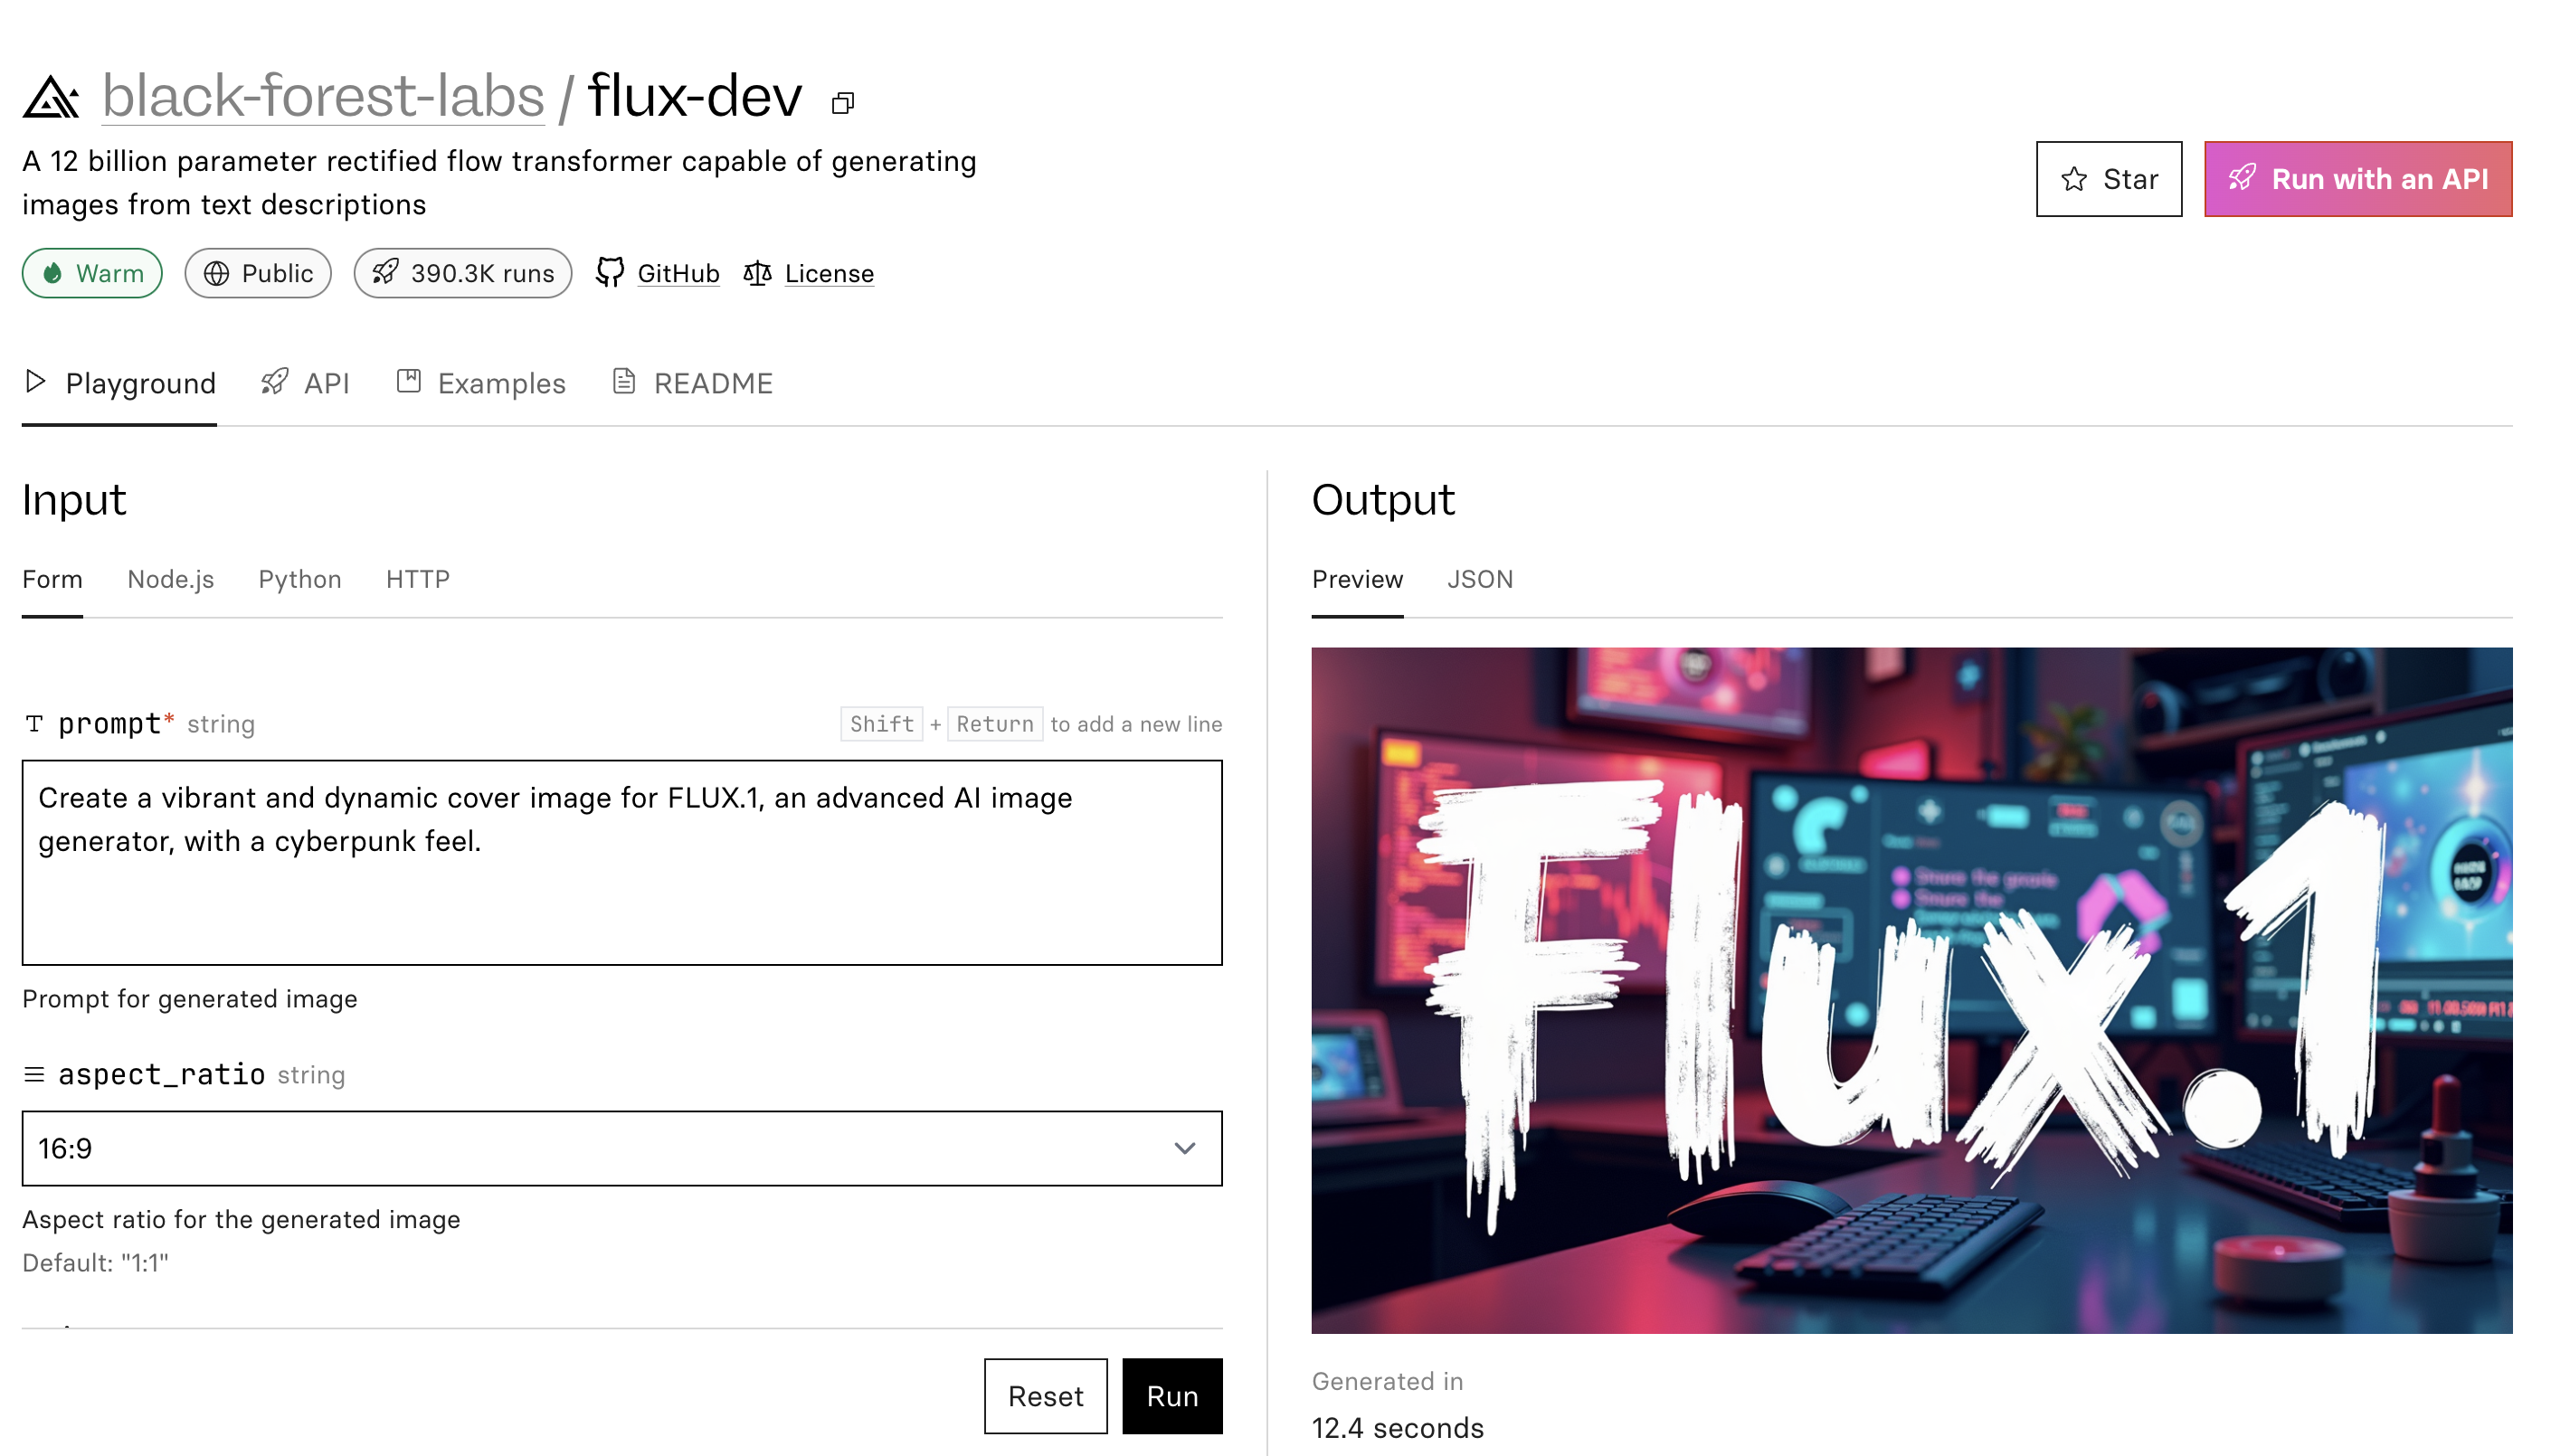
Visit the FLUX.1 Dev page on Replicate. We’re using the [dev] mode because it balances performance and cost, making it ideal for non-commercial exploration.
Step 2: Log in with GitHub
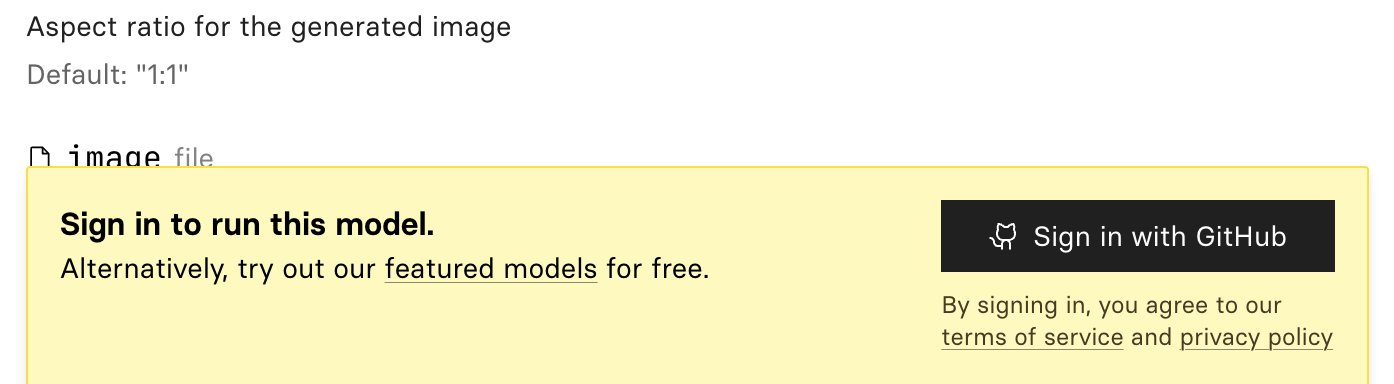
Log in to Replicate using your GitHub account. If you don’t have one, sign up for free and then return to log in.
Step 3: Set Up Your Payment Information
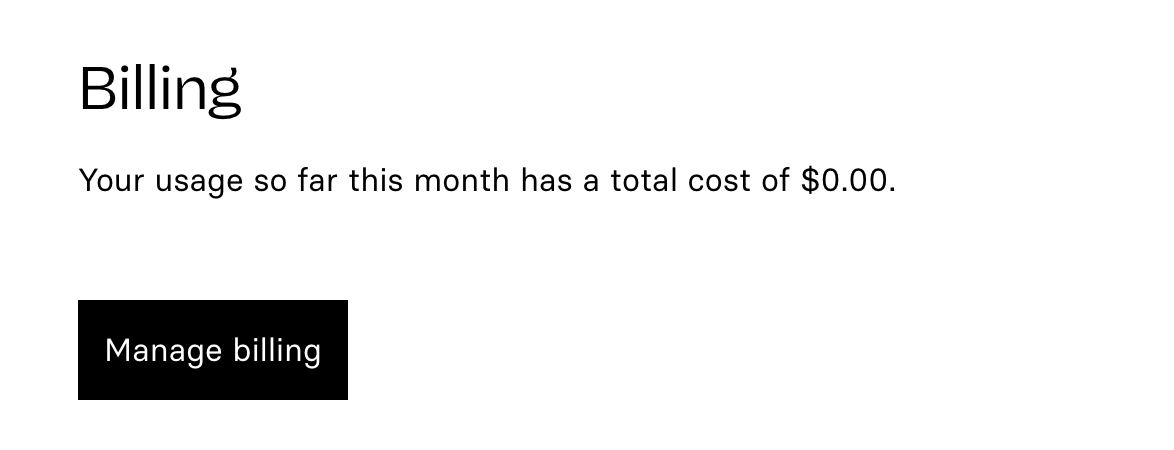
Add your payment details to start generating images. FLUX.1 [dev] costs $0.030 per image, so you only pay for what you create.
Step 4: Input Your Prompt and Adjust the Parameters
After logging in and setting up your payment information, you’re ready to generate your first image with FLUX.1. Here’s how to do it:
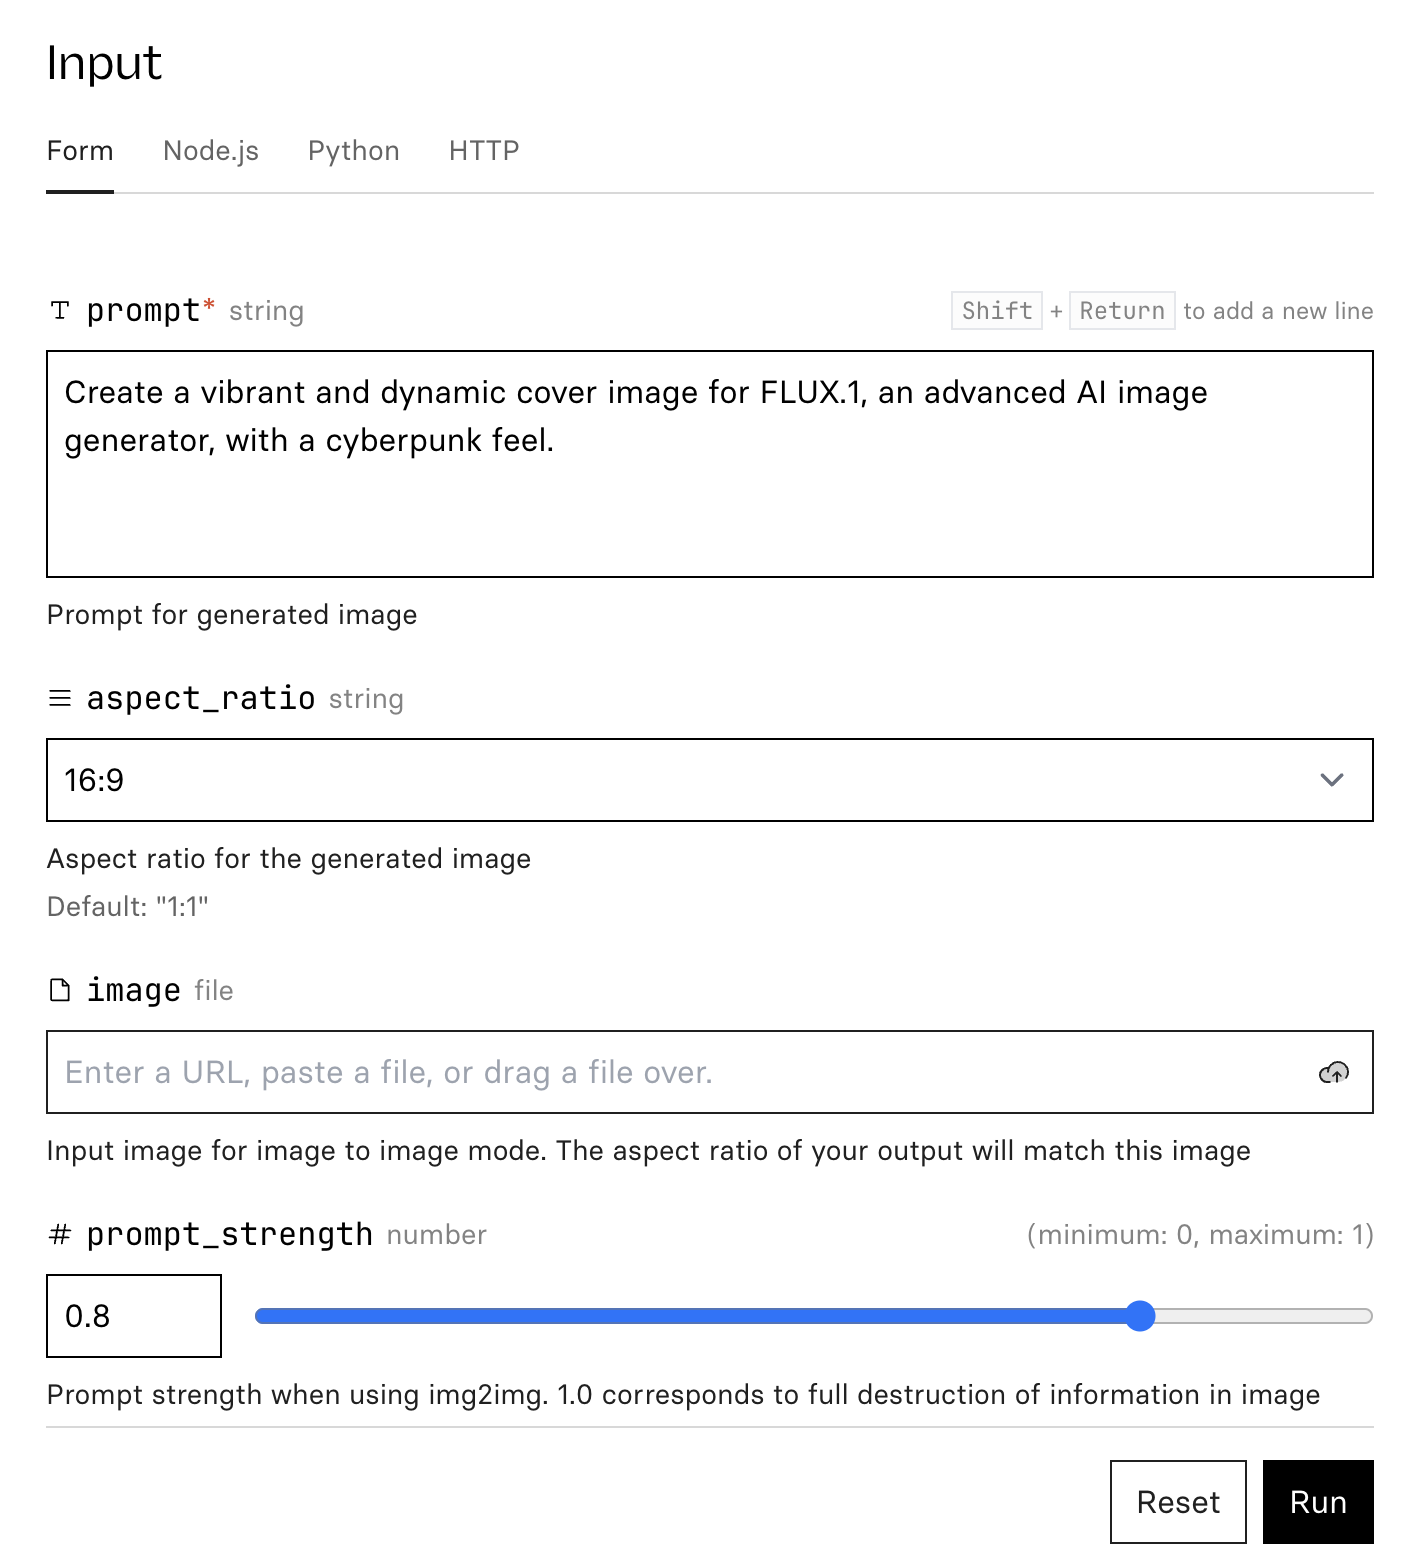
1. Prompt: In the "Prompt" field, enter a detailed description of the image you want to generate. This is the most important input, as it guides the AI in creating the image.
2. Aspect Ratio: The "Aspect Ratio" field allows you to define the shape of your image. The most common ratio is “1:1” for a square image, but you can choose other ratios like “16:9” for a widescreen format. This ratio controls the width-to-height proportion of your final image.
3. Image (Optional): If you want to use an existing image as a base, you can upload it in the "Image" field. This will engage the image-to-image (img2img) mode, where FLUX.1 modifies your provided image according to the prompt. If you don't upload an image, FLUX.1 will generate one from scratch based on your prompt.
4. Prompt Strength: When using an image input, the "Prompt Strength" controls how much the original image is altered. A value of “1.0” completely overrides the original image, while “0.0” leaves it unchanged. For most purposes, a strength of around “0.8” works well, blending the original image with your new prompt.
5. Number of Outputs: The "Num Outputs" field lets you choose how many images FLUX.1 will generate in one go. You can select between “1” to “4” outputs. This is useful if you want to see different variations of the same prompt to pick the best one.
6. Guidance:
The "Guidance" parameter affects how strictly FLUX.1 adheres to your prompt. A higher value means the AI will more closely follow the prompt, while a lower value allows for more creative freedom in the output. A typical value is 3.5, balancing adherence and creativity.
7. Seed (Optional): The "Seed" field lets you enter a specific number to control the randomness of the generated image. Using the same seed with the same prompt will produce the same image. If you leave this field blank, a random seed will be used, generating a unique image each time.
8. Output Format: In the "Output Format" field, you choose the format for your generated image. Common options include “webp” “jpg” and “png”. The format you choose depends on your needs.
9. Output Quality: The "Output Quality" setting determines the compression level for your image, on a scale from “0” to “100”. A higher number means better quality but larger file size. This setting doesn’t affect “png” images but is crucial for formats like “webp”.
Step 5: Run the FLUX.1 Model
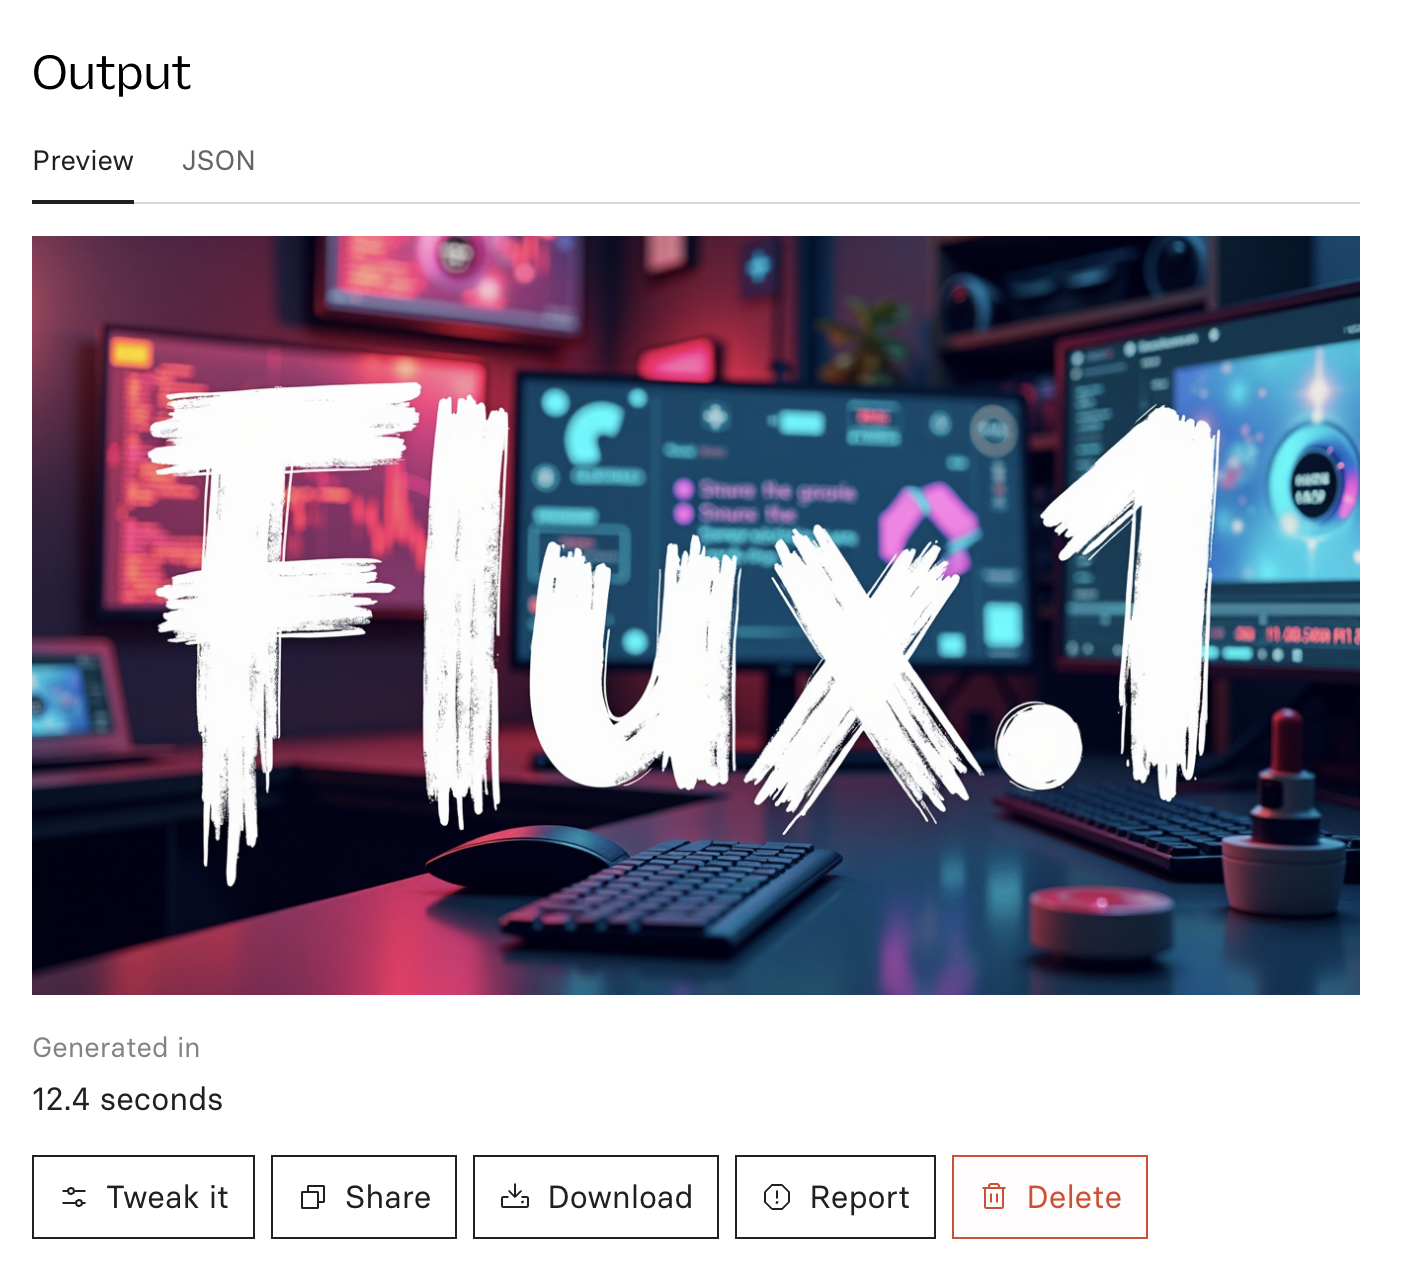
Click “Run” and wait for about 10-20 seconds for the image to generate in the “Output” section on the right side of the screen.
Conclusion
By following these simple steps, you can create stunning visuals that bring your creative ideas to life. Whether you’re experimenting with AI art or need professional-quality images, FLUX.1 offers a flexible and accessible solution.
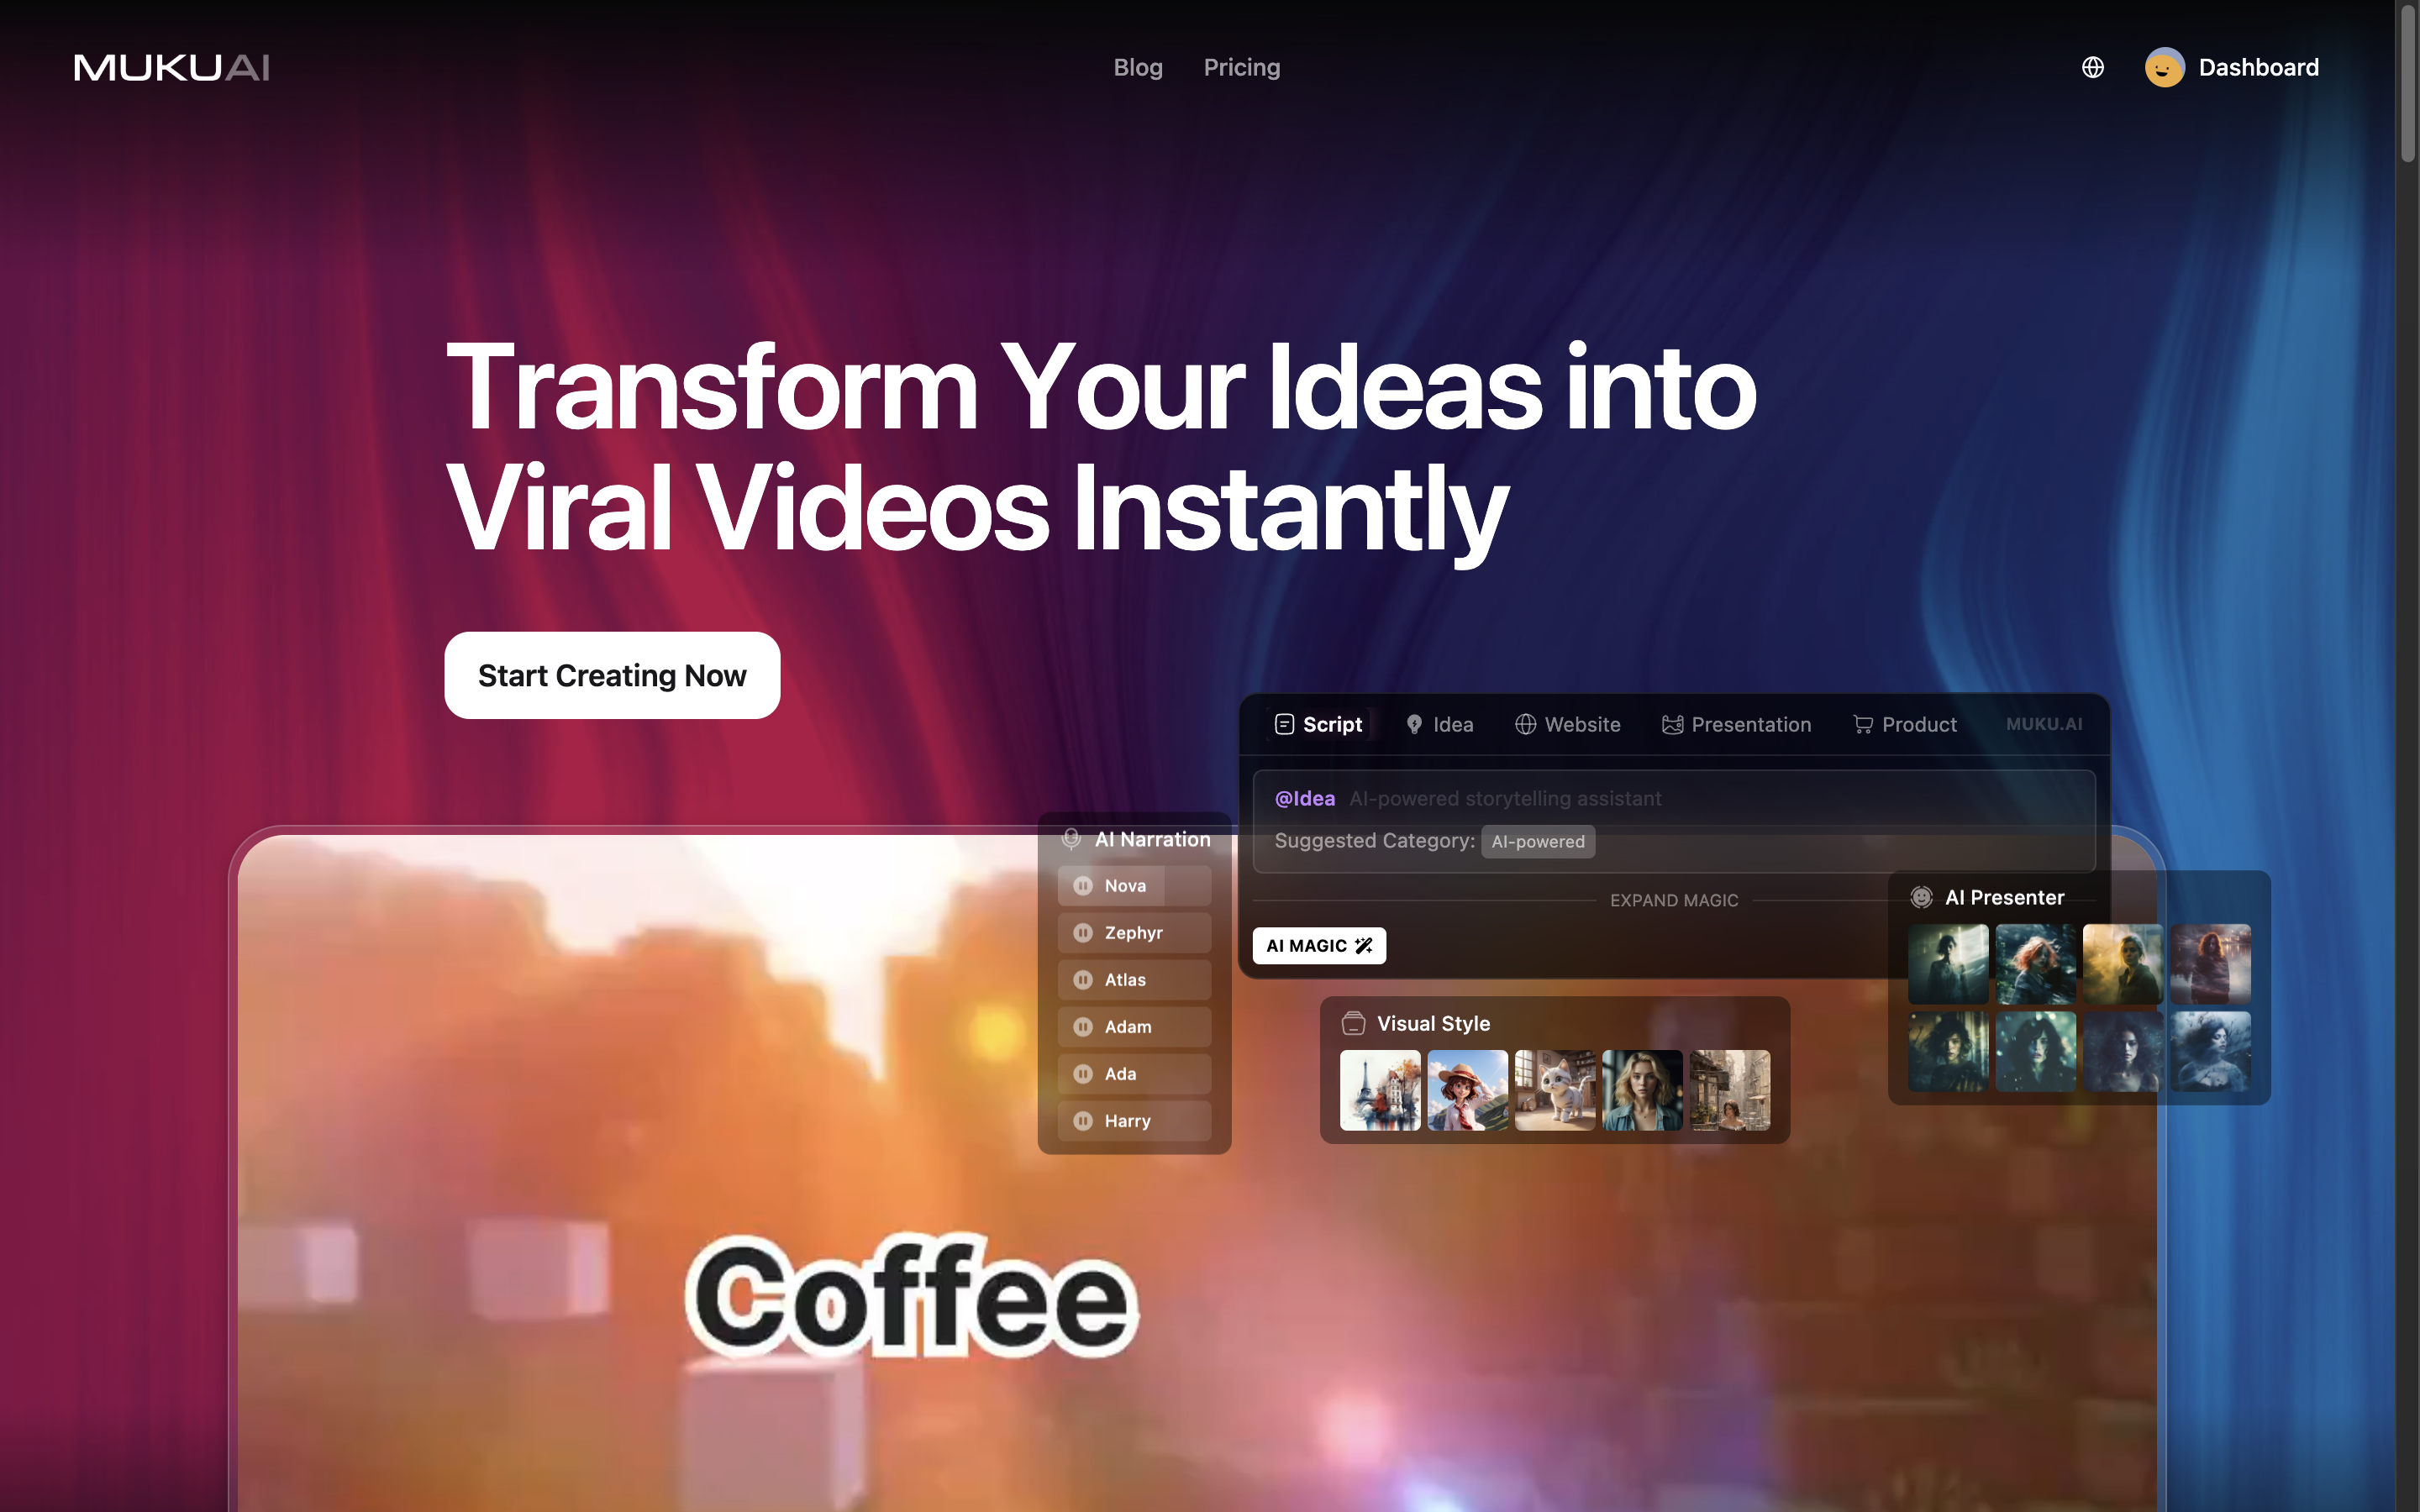
One More Thing: Introducing MUKU AI
MUKU AI is a cutting-edge video generation tool designed for marketing professionals. With MUKU AI, you can transform your ideas into engaging videos effortlessly.
Here’s what you can expect:
AI Video Generator: Convert articles, blogs, or any text into stunning videos with ease. Rich Media Library: Dive into a world of vibrant AI-generated visuals and premium stock footage. Dynamic Music Sync: Automatically match your visuals with the perfect soundtrack. Custom AI Footage: Create unique video scenes tailored to your message.
Why Choose MUKUAI?
Because we know you need more than just basic tools: Save Time: Say goodbye to countless hours in front of editing software. Reliability: Avoid the hassle of unreliable freelancers. Cost-Effective: Cut down on hefty agency fees.
Explore more at MUKU.AI and take your marketing to the next level!